How to Shoot an Interview: Framing, Lighting, Audio - The Trifecta for Visual Storytelling
Greetings camera enthusiasts and content creators! Today, we're going to pull back the curtain on the art and science of shooting a compelling interview. Interviews can turn into powerful narratives that grip your audience - if done right. But how do you capture that magic, and what ingredients do you need to stir up a captivating piece?
Allow me to walk you through my process that I've polished over countless shoots and experiences. We'll delve into three core elements that make or break your interview shoot: framing, lighting, and audio.
1. Framing - Set the Stage
Before we delve into any technicalities, remember that every frame you compose tells a story. It's your canvas, and your job as the artist is to ensure it tells the story as you envision it.
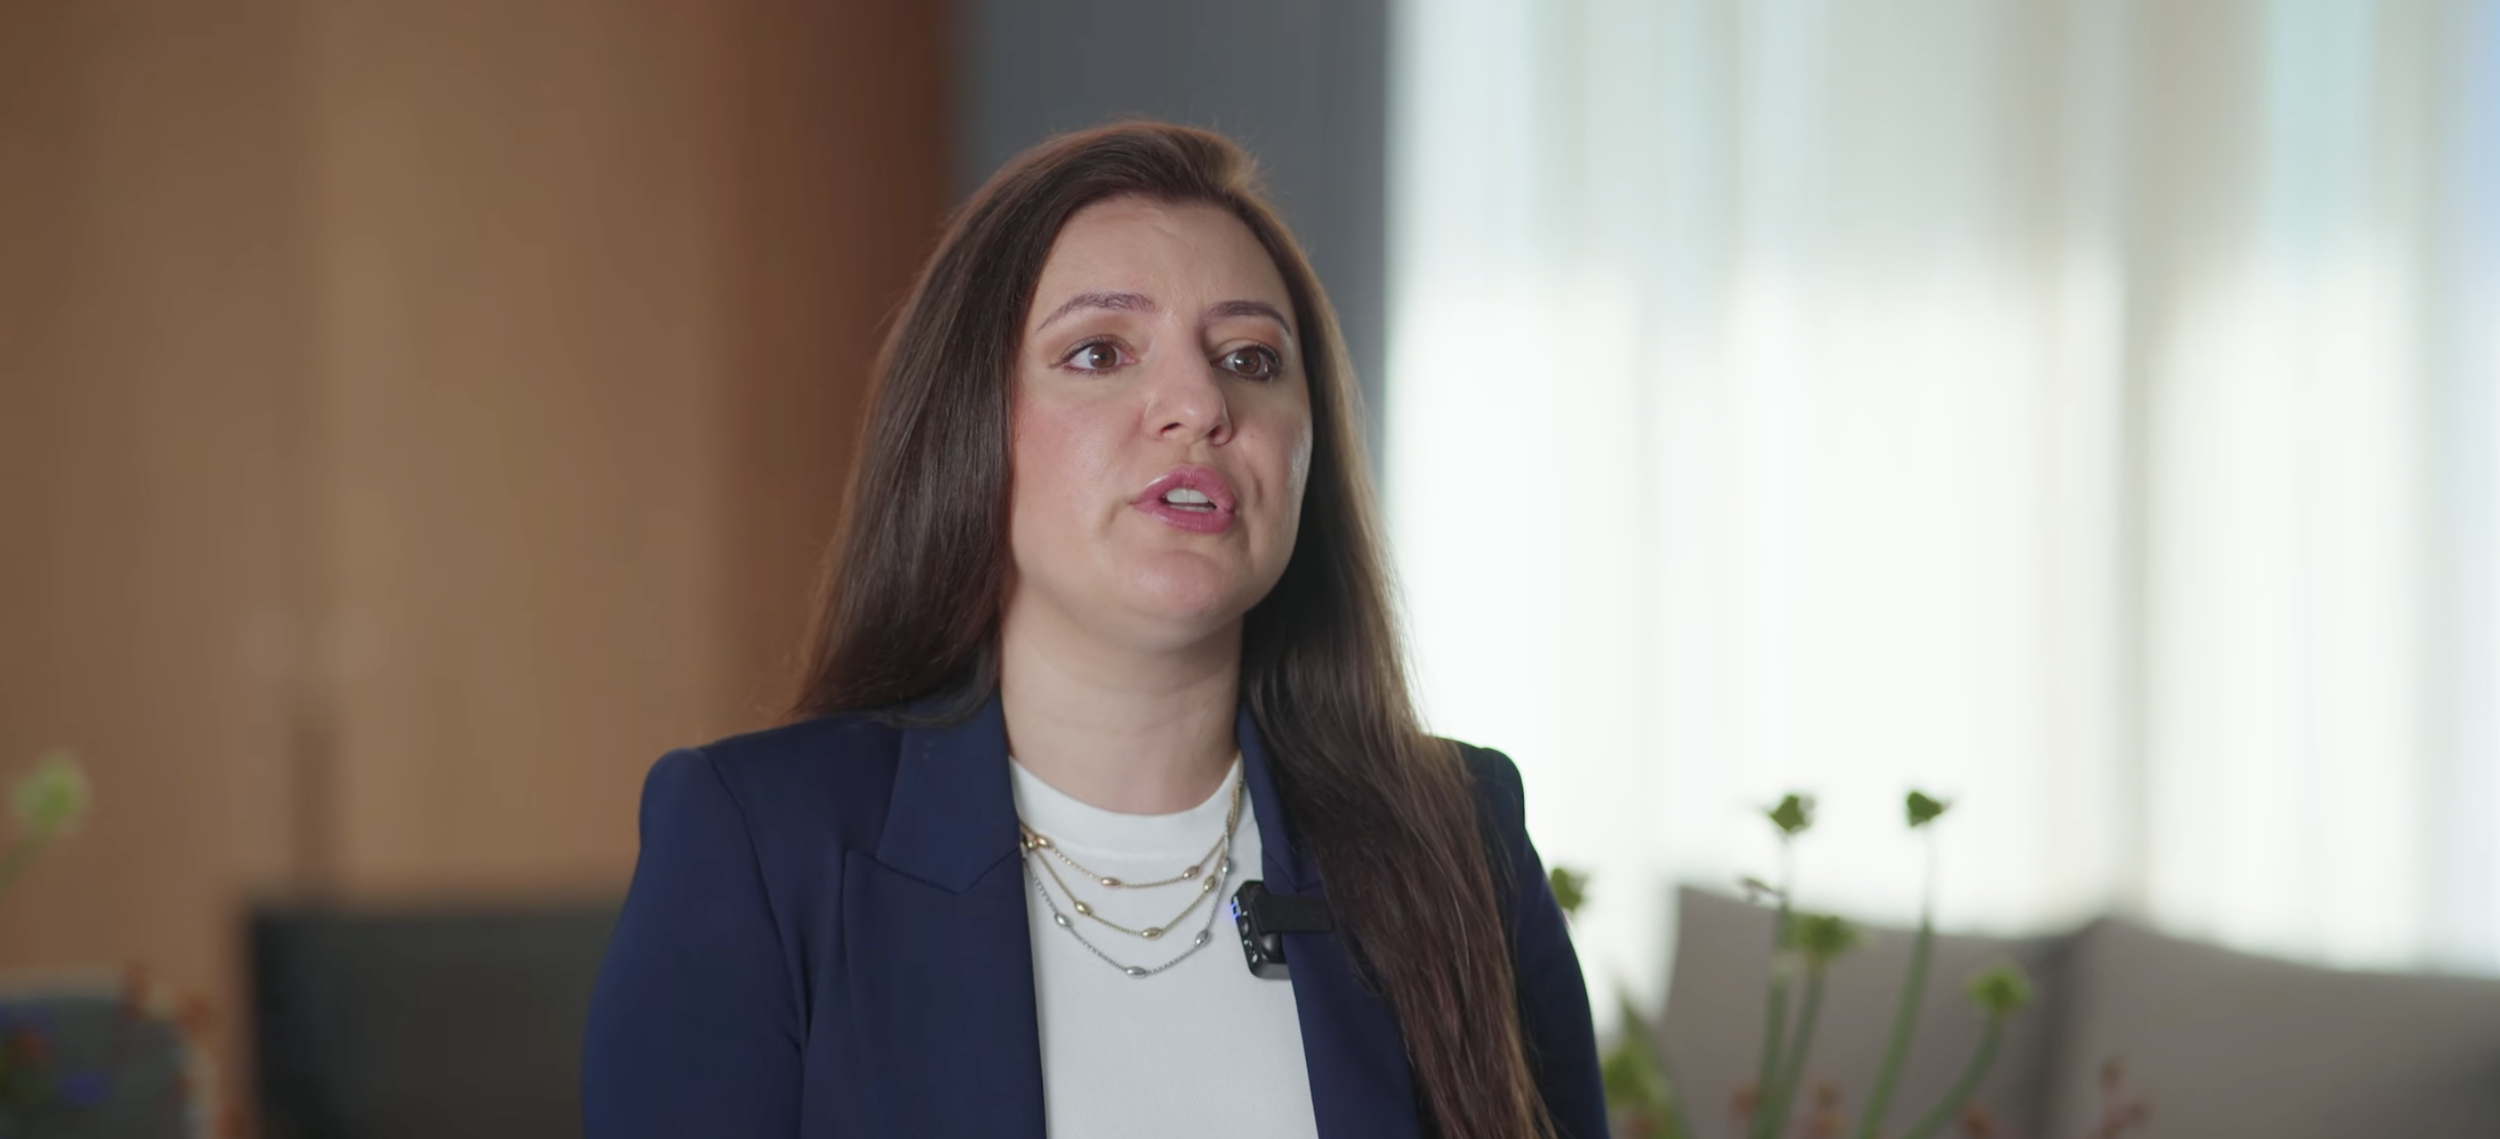
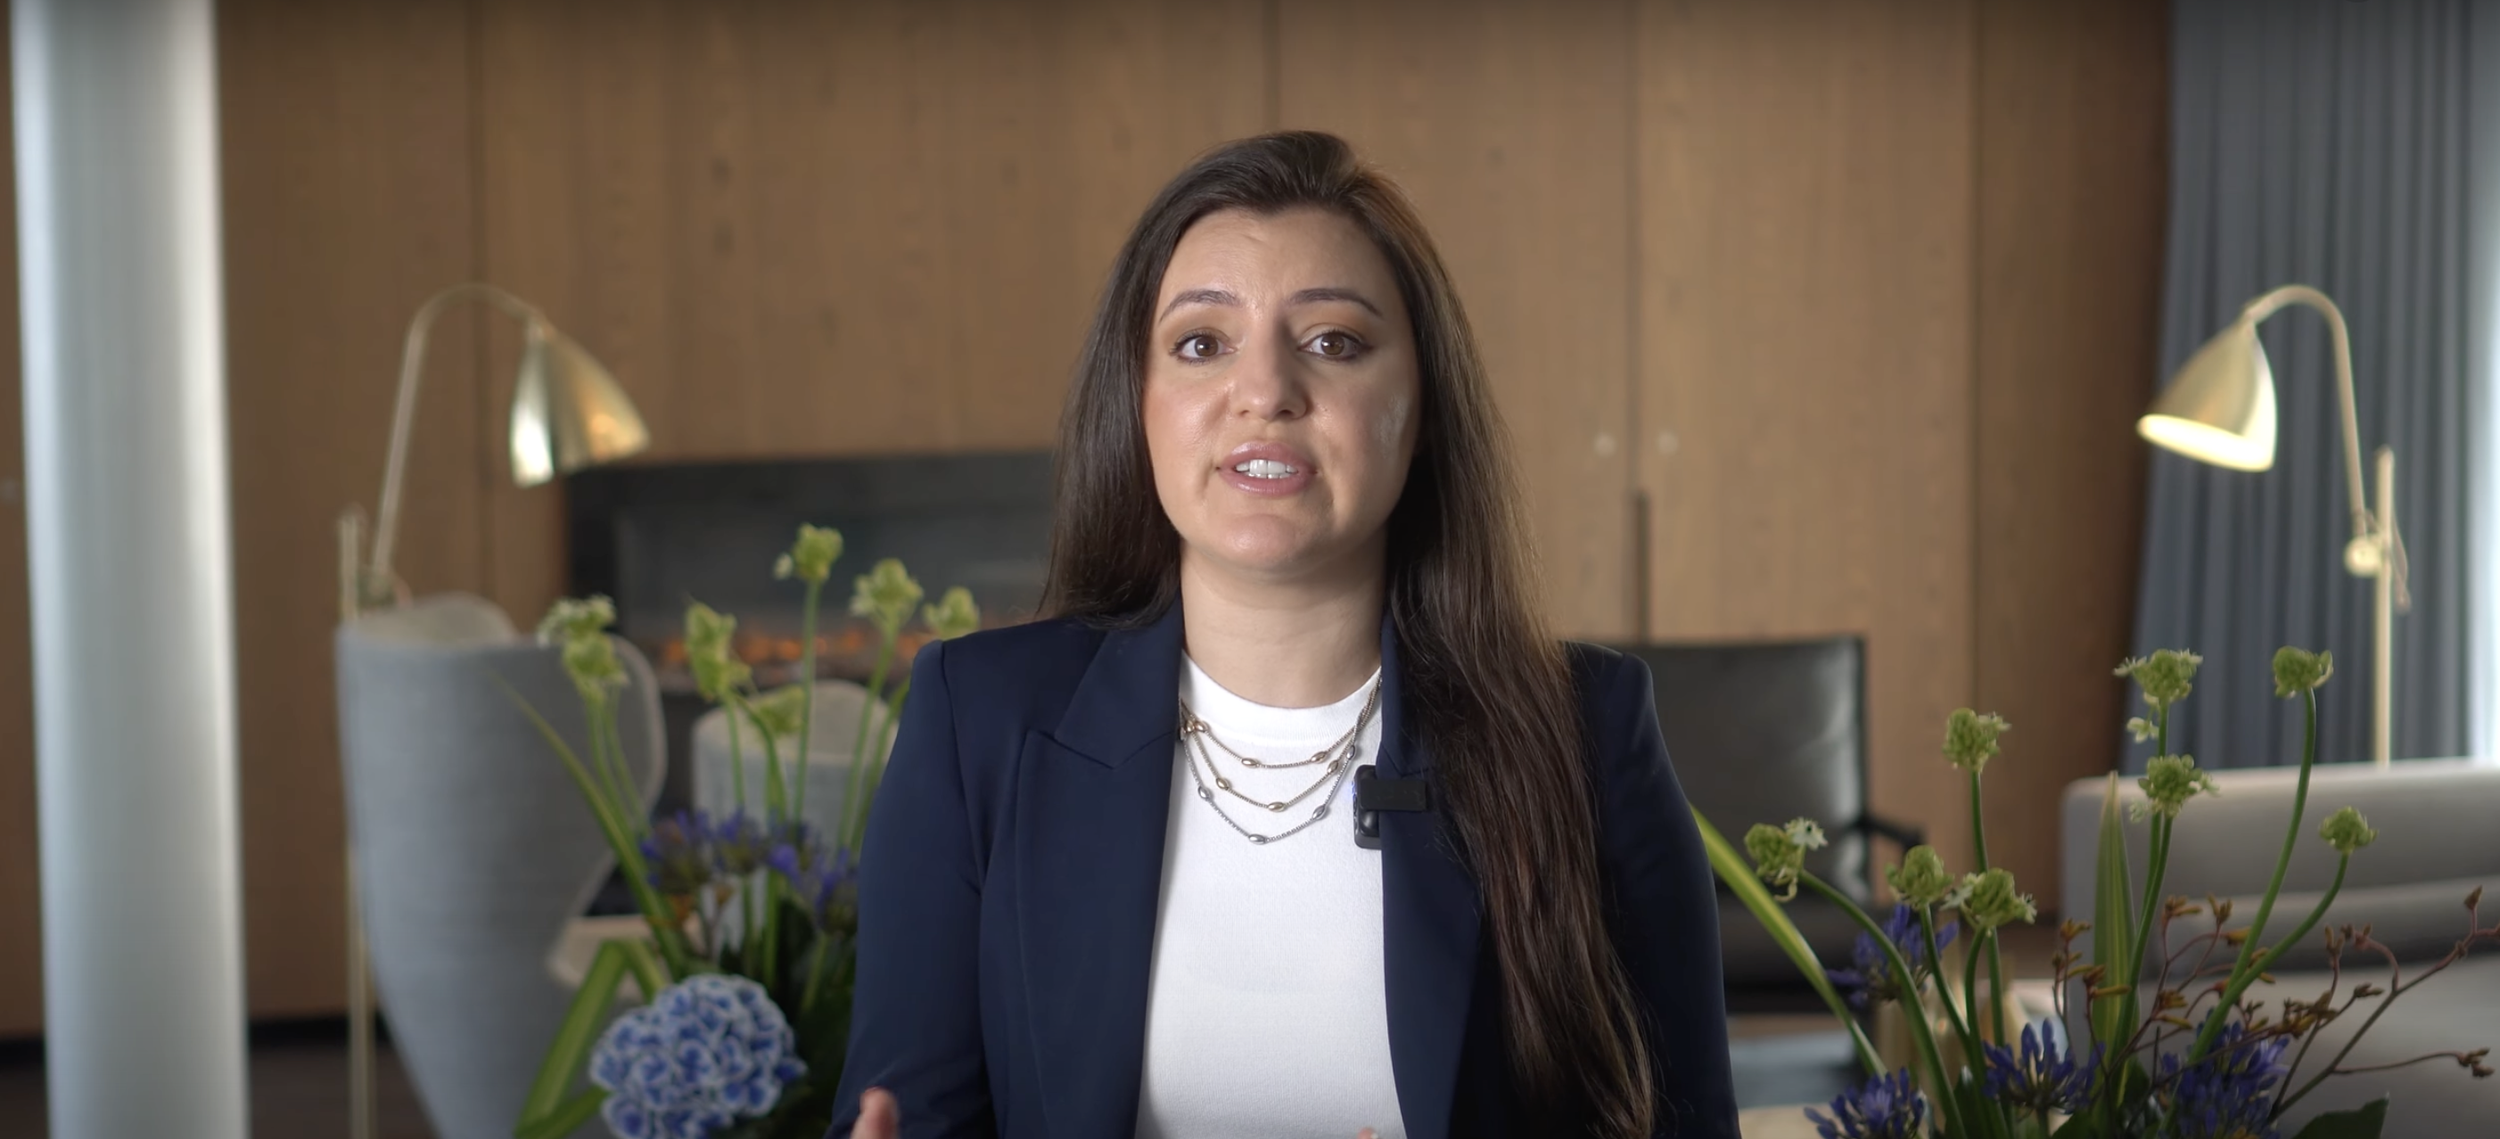
When I commence a shoot, I put a lot of thought into framing my subject. This includes considering their background - it should add depth to the frame but not take away from the primary subject. For instance, while interviewing a coach, I chose to include gym equipment in the shot to encapsulate the theme of fitness and dedication.
However, when the situation calls for a formal interview, I go minimal on the props. This ensures the viewer's attention remains focused on the subject, undistracted by the background. The balance between your subject and the background plays a critical role in directing your viewer's attention and subtly communicating the theme of your story.
2. Lighting - Master the Mood
Lighting is the soul of your visuals. It reinforces the mood and amplifies the message you're trying to convey. Underestimating its power could be your biggest mistake.
Typically, I'd recommend starting with a 2-light setup. Your main light, or the 'key' light, should focus on illuminating the subject. The second light, commonly referred to as a rim light or hair light, creates a subtle outline of the subject. This provides some separation from the background, adding depth and dimension to your frame.
From here, I like to work with what's referred to as practical lights. These could be natural light sources present in your scene, like a window, or artificial ones like a lamp. These not only fill your frame with a natural warmth but also create a more authentic and immersive environment.
3. Audio - Every Word Matters
The power of clear, crisp audio in conveying your message cannot be understated. People often say, "Sound is king," and it's for good reason. You could have the most visually stunning frames, but if the audio quality is poor, your message will be lost.
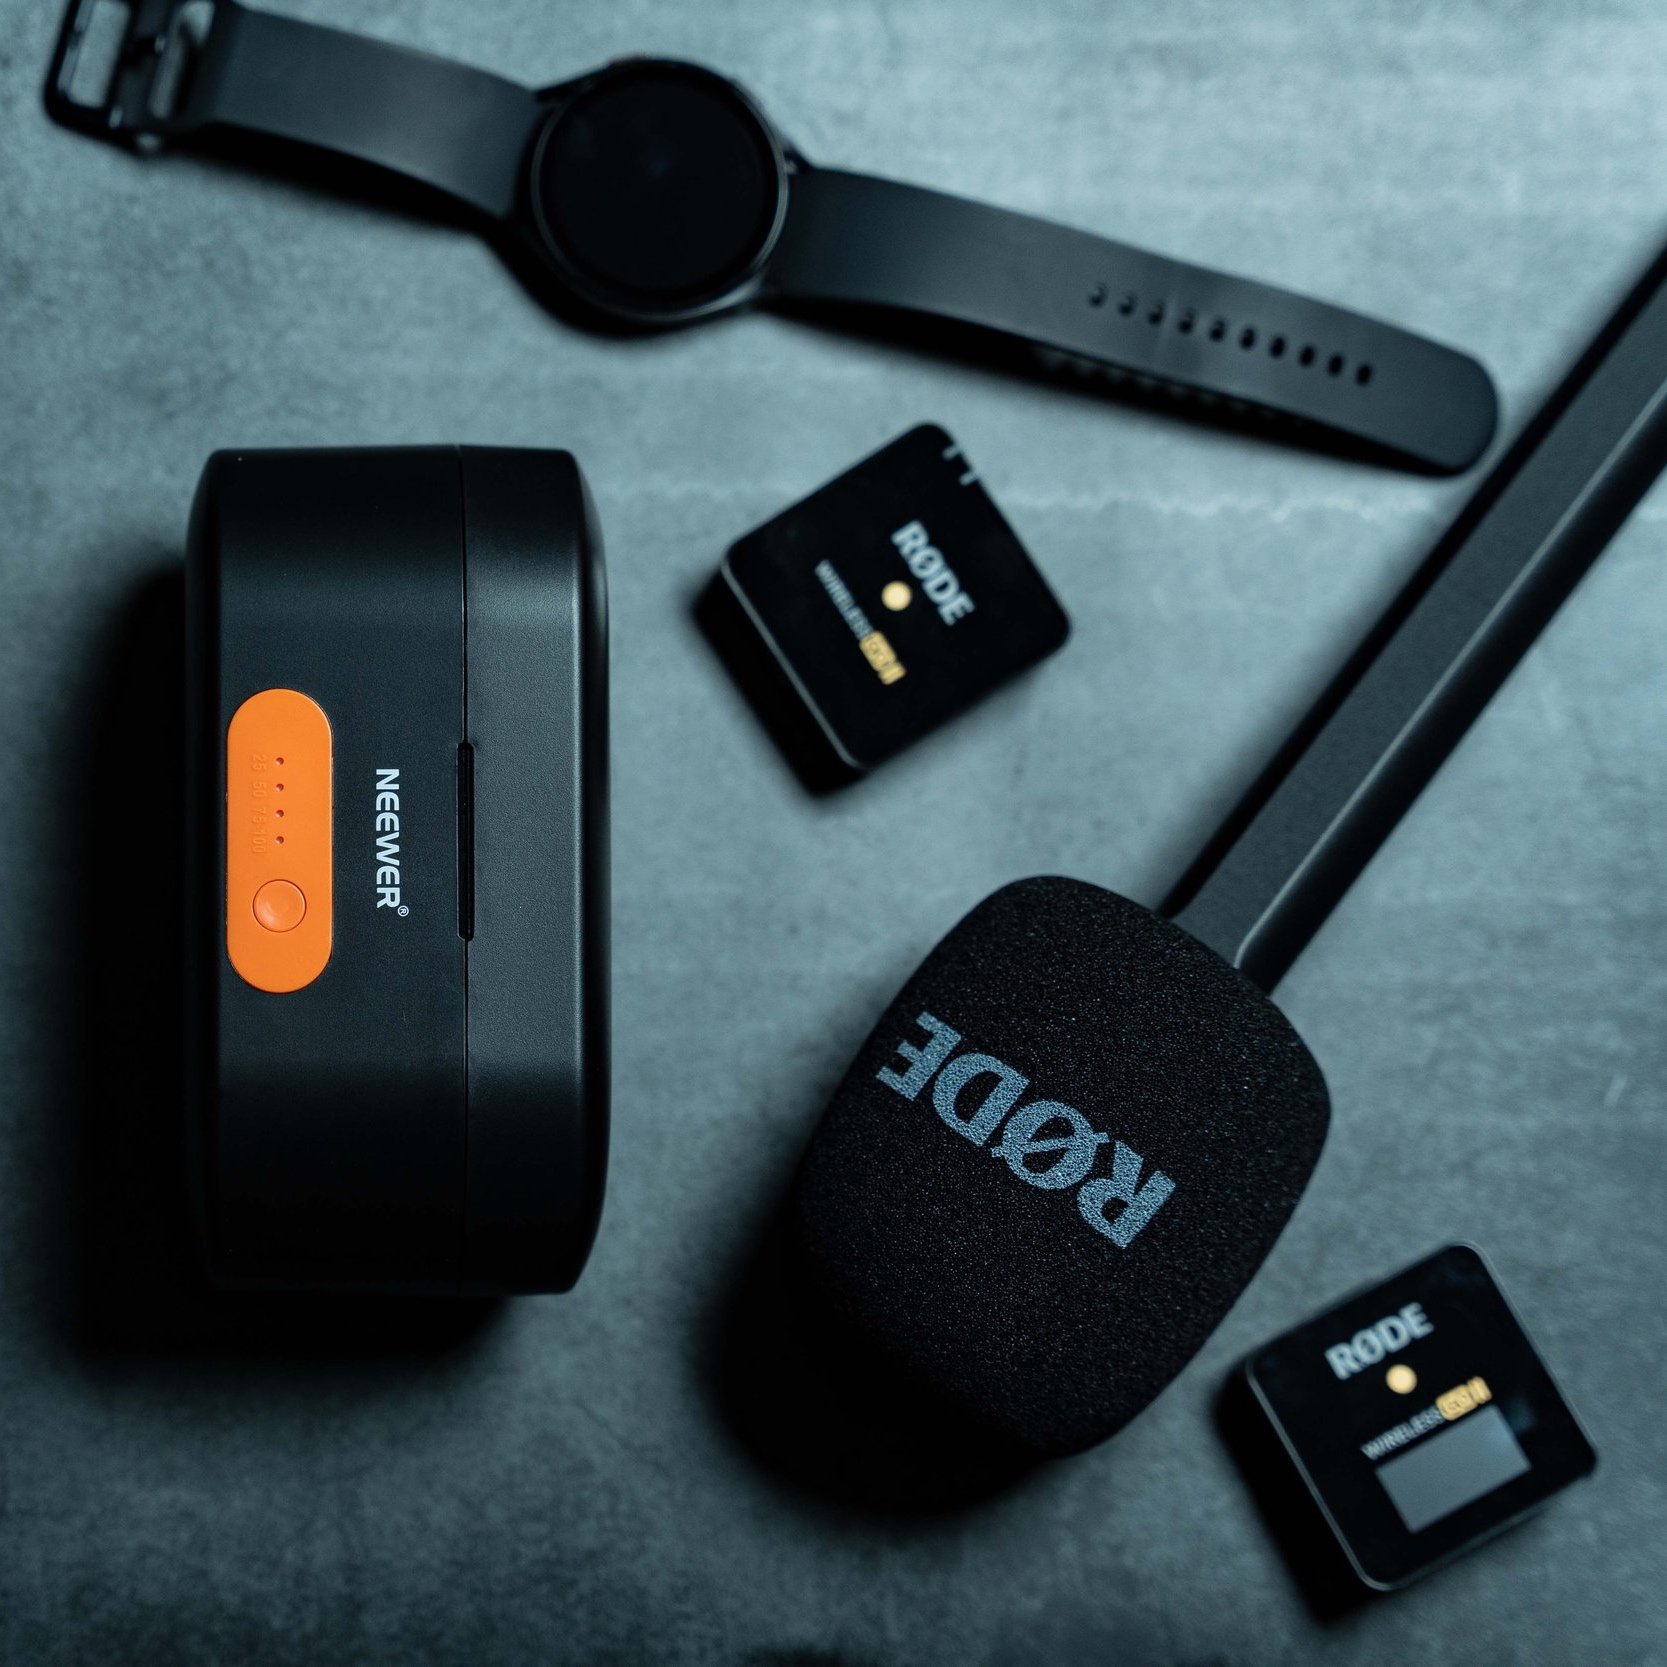
My go-to for impeccable audio capture is the Rode Wireless Go 2. Its ability to export uncompressed audio makes it ideal for post-production enhancements. Plus, it's wireless! This means less clutter and more comfort for the interviewee. If I want to keep the mic out of the frame, I simply attach a lav mic to the Wireless Go 2, pop it into the interviewee's pocket, and clip the lav mic to the top. Voila!
In the editing stage, I focus on enhancing the audio quality further by removing any background noise and increasing the treble for greater clarity. Remember, every word matters and your audience shouldn't miss a single one.
Now, armed with these three pillars of shooting an interview - framing, lighting, and audio - you're well on your way to capturing compelling interviews. If you're a visual learner like me, you might find my detailed video tutorial on how to shoot an interview helpful. You can check it out here.
Back to my blogs


